
Using the Linux ISO
The Linux ISO contains all the workshop data and material, it runs an instance of Ubuntu 12.04 (32-bit) customized for the workshop by GeoSolutions containing the following softwares:
GDAL libraries and FWTools 2.0.6
Note
FWTools is a set of GIS utilities for handling and manipulating GIS data. FWTools includes OpenEV, GDAL, MapServer, PROJ.4 and OGDI as well as some supporting components.
An instance of GeoServer 2.13.x configured with some datasets and extensions, as RESTConfig, ImageMosaic, ImagePyramid, Chart Dynamic Symbolizer.
The most popular GIS platforms as GoogleEarth 5.1, uDig 1.3.1 and QGis 2.8.1
System Requirements
Minimum Requirements:
- 1 Core
- 3Gb RAM
Suggested Requirements:
- 2 Cores
- 4Gb RAM
If you want to install the training system on a phisical or virtual machine, the minimum disk space required is:
- 20Gb hard disk space
Launch the Linux ISO
The Linux ISO contains a fully functional version of Ubuntu 12.04 (32-bit). It can start automatically running directly from the DVD or USB.
In order to launch the Linux ISO the steps to do are the following:
Make sure the boot sequence on your PC allows to check CD/DVD or USB before the Hard Drive HD
- Restart your computer. During the boot process, usually at the bottom of the first or second screen, you will see a message such as “press f8 for set up” or “press ctrl-alt-del to enter setup”. Press the appropriate key illustrated by your machine to enter the BIOS/CMOS setup.
- Inside the BIOS/CMOS setup use the keys outlined to move between the utilities.
- Browse through the options then select the boot sequence. Change it according to which sequence you wish to put in place (make sure to move the DVD/USB device on the top of the list to make the machine booting from it instead from the local hard drive).
- Finally, check again the changes made. Save your new sequence and press the Esc key when you are done. This should bring you back to boot up. It may be required to restart the computer to enable the modifications.
Make sure the DVD is correctly inserted in the DVD-ROM Reader (or the USB is connected) before PC boot sequence.
When your system starts, an option list should appear as in the figure below.
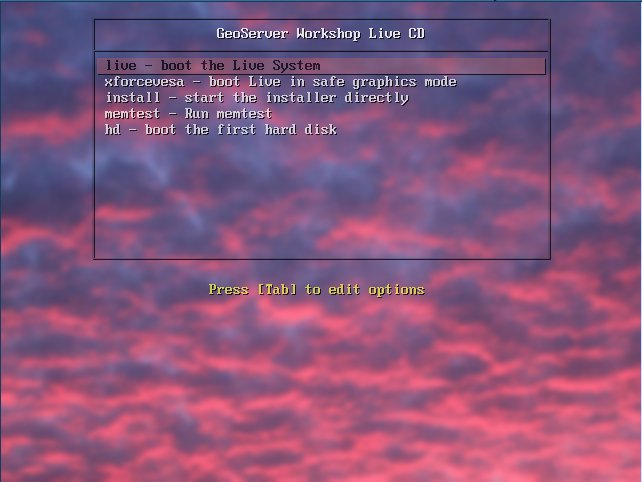
First boot
Select the first option then press ENTER to boot the Live System from the DVD/USB.
Note
Ignore the other options for now, we will inspect them later in the manual guide.
In case of no errors, you should see at the end the Ubuntu login screen as depicted below.
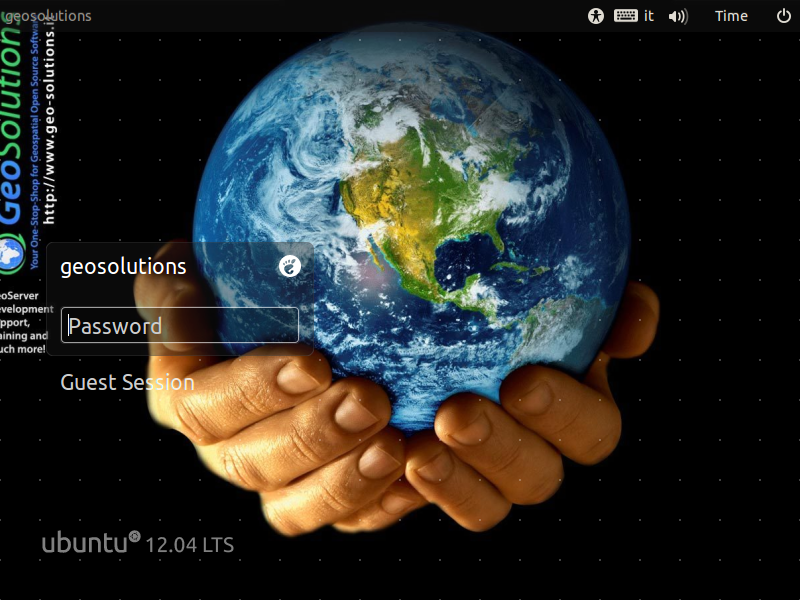
Ubuntu GUI
Use the following credentials to log in:
- username: geosolutions
- password: Geos
Installing the Linux ISO
Note
This step is alternative to the ‘live’ launch of the Linux ISO
The Linux ISO can also be installed on a physical host or a virtual one of your system instead of running it ‘live’. To install the Linux ISO on the system follow the steps above and choose install instead of ‘live’ in the choice screen.
Follow the on-screen steps to complete the installation.
Once installed, the system will run faster and you will be able to perform your tasks better during the training.
Verify Everything Works Correctly
Use the following credentials to log in:
- username: geosolutions
- password: Geos
Open Firefox and click on the first GeoServer bookmark
- The GeoServer administration page should load.
Note
On low spec hosts GeoServer can take up to 5 minutes to start up.
- Click on “Layer Preview”, search for Boulder and, for example, open the layer “BoulderCityLimits” with OpenLayers:
- An interactive map of the current layer should open in a new tab.
- Open pgAdmin III and doubleclick on the “postgres” server.
- A list of databases should open.