Modifying Feature Types
GeoServer provides a fully Transactional Web Feature Service (WFS-T) which enables users to insert / delete / modify the available FeatureTypes. This section shows a few of the GeoServer WFS-T capabilities and interactions with desktop GIS clients.
Warning
The layer Mainrd is required for this exercise. Be sure to have completed the Adding a Shapefile section.
Warning
This section assumes all the layers are open for anyone to modify.
Open the Security -> Data page
Ensure the Rule path *.*.w is set to be available to any role
Refer to the Layer level security section for further information
Warning
For this exercise, we will use uDig GIS desktop client. In general, all GIS desktop clients provides same kind of features allowing to reproduce the exercise.
Open your preferred GIS desktop client. In our case QGIS.
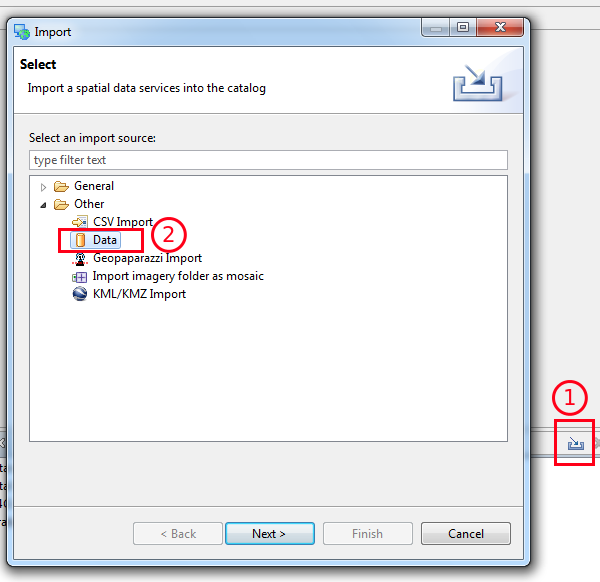
Add GeoServer WFS to the catalog. Use the import button in the catalog tab (1), and select “data” (2) in the first page of the wizard
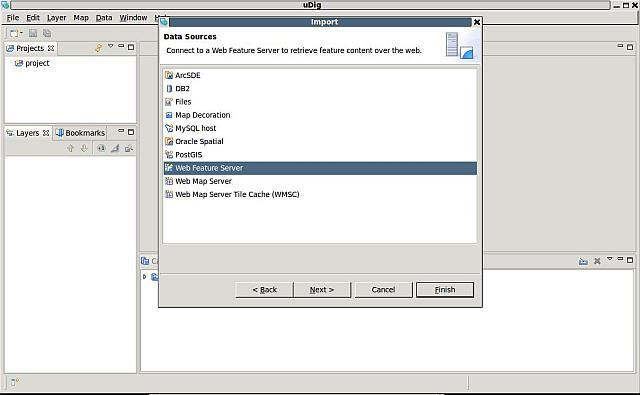
Select the Web Feature Service Data Source
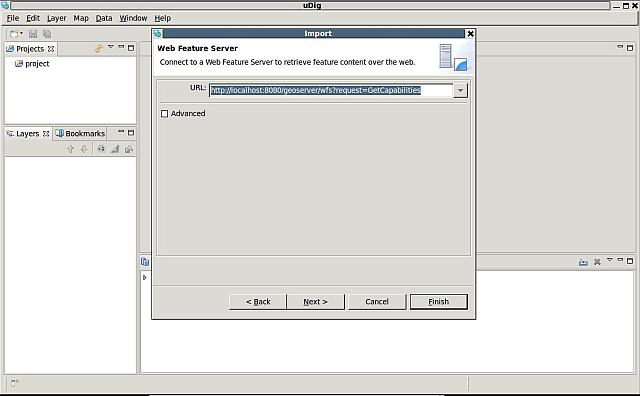
Insert the following address into the URL text box and press
finish:http://localhost:8083/geoserver/wfs?request=GetCapabilities&service=WFS
Right click on the
Mainrdlayer from the list and selectAdd to current map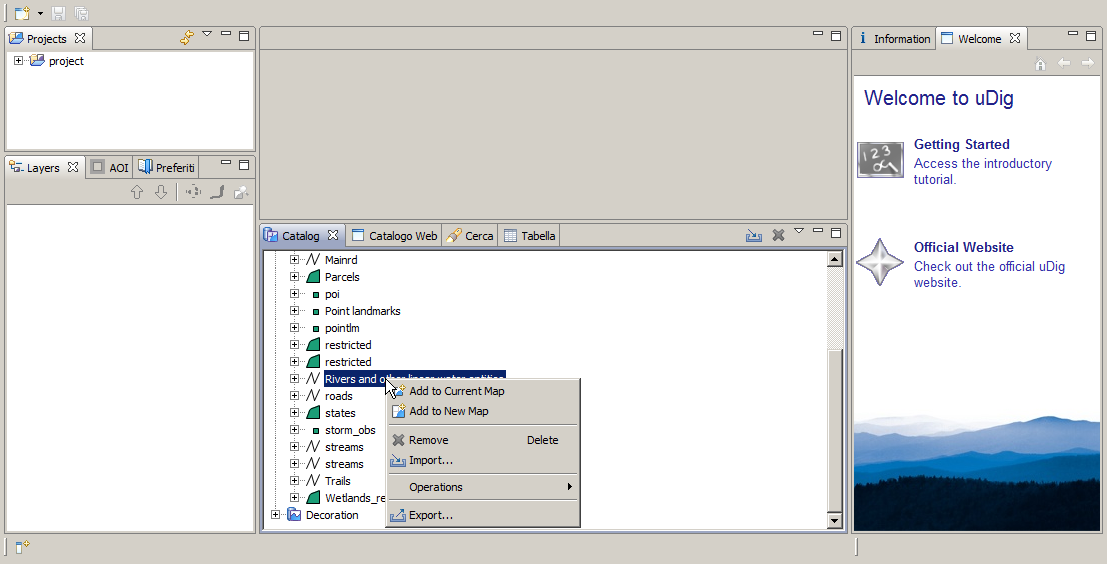
The
Mainrdlayer is now visible in the uDig map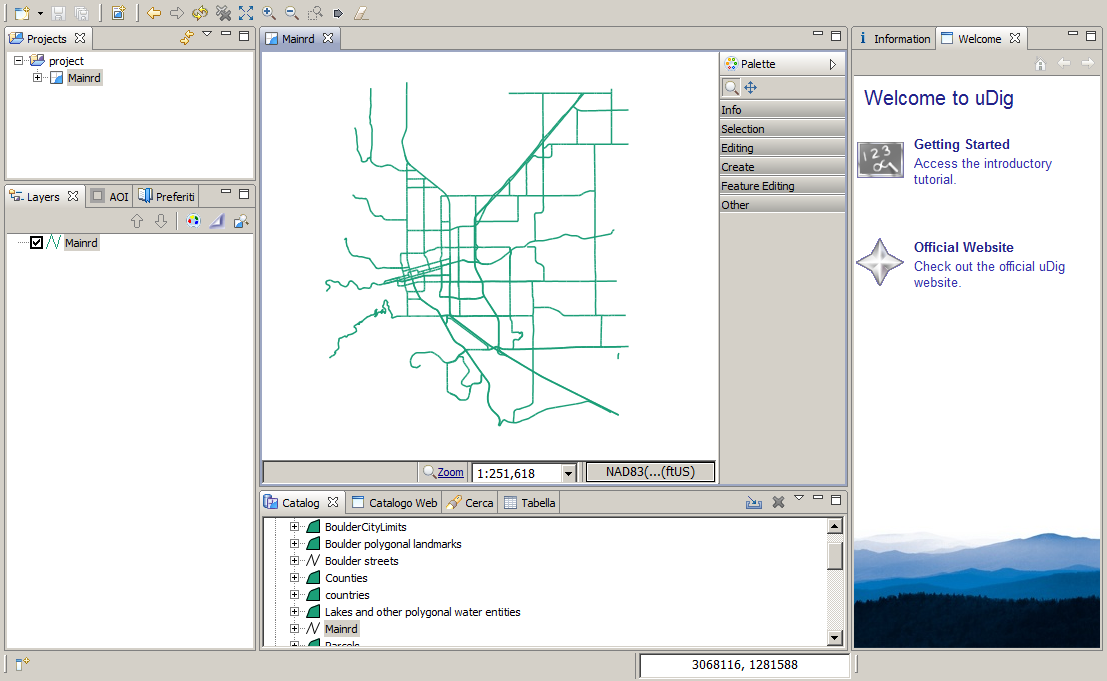
Perform a zoom operation on the upper-right part of the layer.
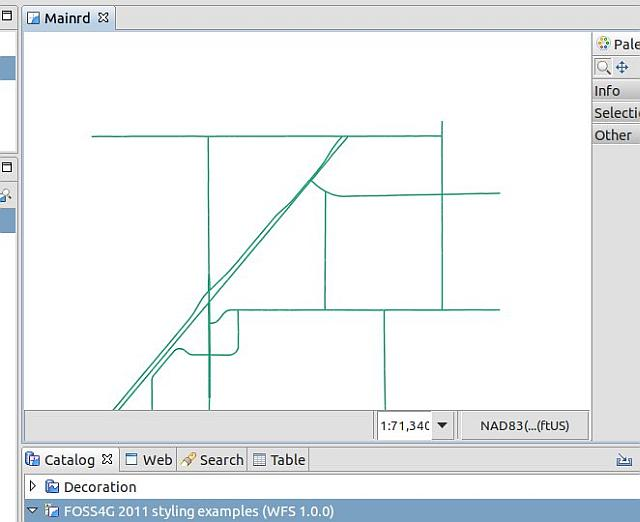
Zooming in ...
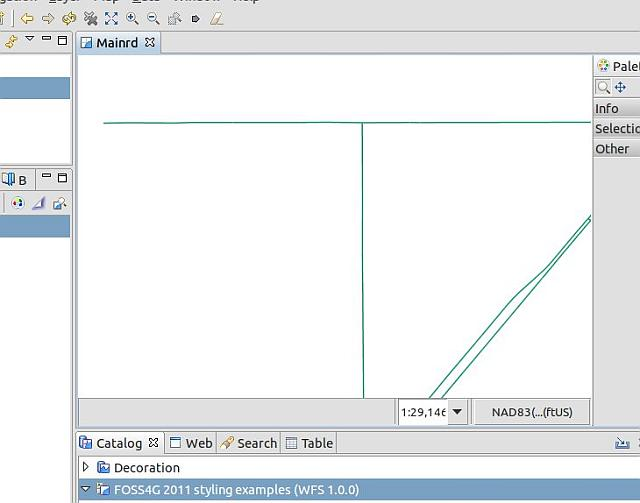
Zooming in ...
By using the
Select and Edit Geometrytool try to move/add/remove some vertex to the small line at the center of the screen.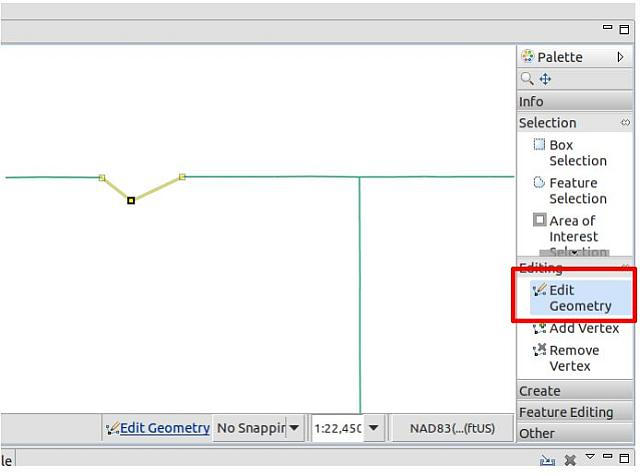
Playing with the Geometry
Once finished use the Commit tool to persist the changes on GeoServer.
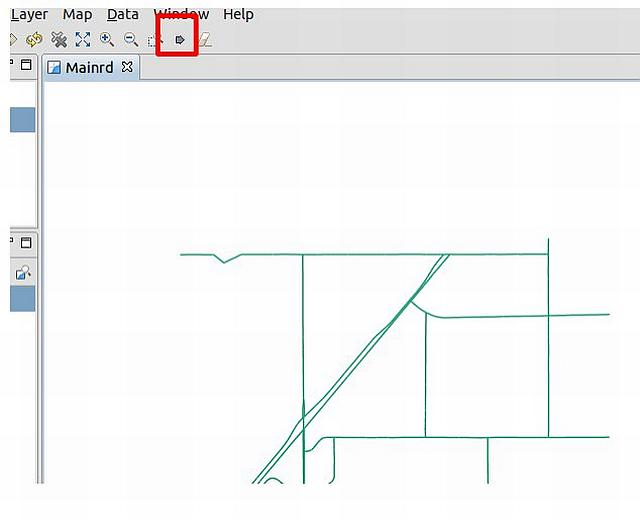
Committing changes throught the WFS-T protocol
Use GeoServer Layer Preview to view the changes on the Mainrd layer.
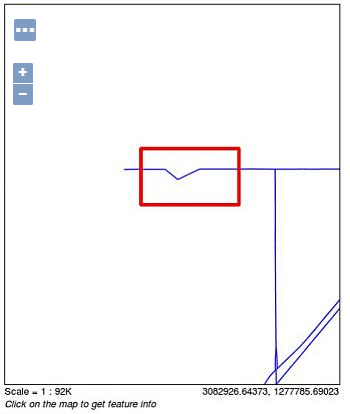
Showing the changes to the Mainrd Feature Type
On uDig look the Feature attribute values using the
Infotool.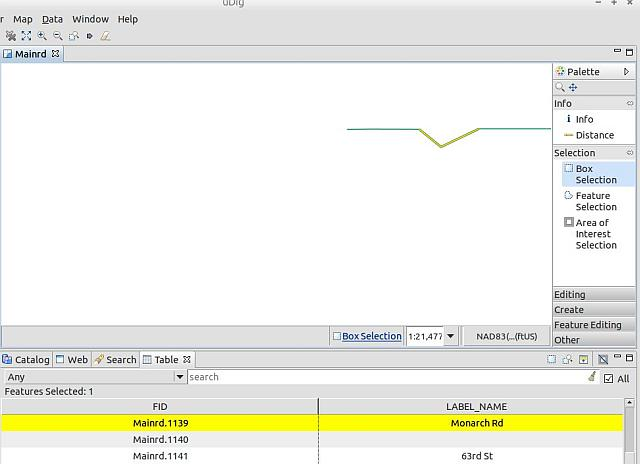
Retrieving Feature Type info from uDig interface
Now open / create the
request.xmlfile in the training root dir and set in the following request, which will be used to issue an update Feature type request to the WFS-T updating all roads labelled asMonarch RdtoMonarch Road<wfs:Transaction xmlns:topp="http://www.openplans.org/topp" xmlns:ogc="http://www.opengis.net/ogc" xmlns:wfs="http://www.opengis.net/wfs" service="WFS" version="1.0.0"> <wfs:Update typeName="geosolutions:Mainrd"> <wfs:Property> <wfs:Name>LABEL_NAME</wfs:Name> <wfs:Value>Monarch Road</wfs:Value> </wfs:Property> <ogc:Filter> <ogc:PropertyIsEqualTo> <ogc:PropertyName>LABEL_NAME</ogc:PropertyName> <ogc:Literal>Monarch Rd</ogc:Literal> </ogc:PropertyIsEqualTo> </ogc:Filter> </wfs:Update> </wfs:Transaction>
Issue the WFS-T request towards GeoServer using curl on the command line:
curl -XPOST -d @request.xml -H "Content-type: application/xml" "http://localhost:8083/geoserver/ows"
The response should be a TransactionResponse XML document containing a
wfs:SUCCESSelementAsk the info again using the uDig
Infotool. In some cases you have also to refresh the catalog to see the data changes in uDig.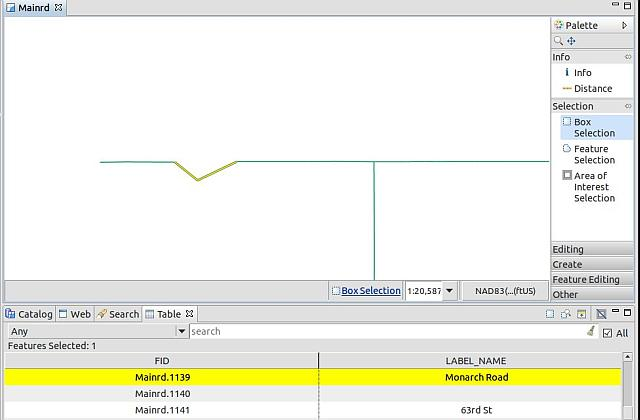
Obtaining the updated Feature Type info from uDig interface
Finally, obtain the Feature type info using the GetFeatureInfo operation issued directly by the
Map Preview.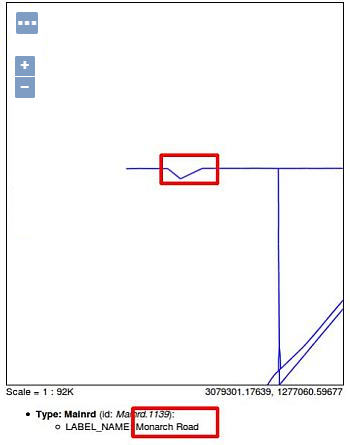
Obtaining the updated Feature Type info from OpenLayers MapPreview GetFeatureInfo
Note
In order to issue a GetFeatureInfo request from the OpenLayers MapPreview tool, just left-click over the line.
